This blog is contributed by Pushkar Kulkarni, a Software Engineer at Canonical.
Building on the rise in popularity of Spring Boot and the 12 factor paradigm, our Java offering also includes a way to package Spring workloads in production grade, minimal, well organized containers with a single command. This way, any developer can generate production-grade container images without intricate knowledge of software packaging.
This is possible thanks to Rockcraft, a command-line tool for building container images, and its related Spring Boot extension – a set of pre-packaged configurations that encapsulate common needs for specific application types or technologies.
Creating containers becomes as simple as running the rockcraft init --profile spring-boot-framework command and pointing the resulting configuration file to your project folder. This makes building containers in CI or on developer machines easy, fast, and predictable.
The foundation: Rockcraft, Profiles, and Pebble
Under the hood, the aforementioned command leverages the following Canonical open source tools:
- Rockcraft is an open source tool developed by Canonical for building secure, stable, and OCI-compliant container images based on Ubuntu. It is designed to simplify and standardize the process of creating production-grade container images, thanks to a declarative configuration and predictable image structure. By default all containers have Pebble as the entrypoint.
- Profile is a configuration option for Rockcraft that tailors the project structure and configuration files to a specific framework or use case. The spring-boot-framework extension dynamically determines the plugin to use to build the rock. Depending on the presence of pom.xml or build.gradle file, the extension will use either maven or gradle plugin, respectively.
- Pebble is the default entrypoint for all generated containers. Pebble is a lightweight Linux service manager that helps you orchestrate a set of local processes as an organized set. It resembles popular tools such as supervisord, runit, or s6, in that it can easily manage non-system processes independently from the system services. However, it was designed with unique features such as layered configuration and an HTTP API that help with more specific use cases like log forwarding and health checks.
By default, the spring-boot-framework uses the Ubuntu default-jdk package to build the rock, which means that a different Java JDK version is used depending on the build base. To provide an efficient runtime for Java, the extension calls the Jlink plugin plugin to trim out any unused parts of the JDK. This reduces the size of the rock and improves performance
You can read more about Rockcraft and Pebble in the respective official product documentation.
Setting up your development environment
The first step is to install and initialize Rockcraft and LXD. The latter is used by Rockcraft to provide isolated and reproducible build environments, without the need to pollute the host.
sudo snap install lxdlxd init --autosudo snap install rockcraft --classic --channel latest/edgeIf you already have a fully tested jar that’s all you need to get started packaging your application as a production grade container.
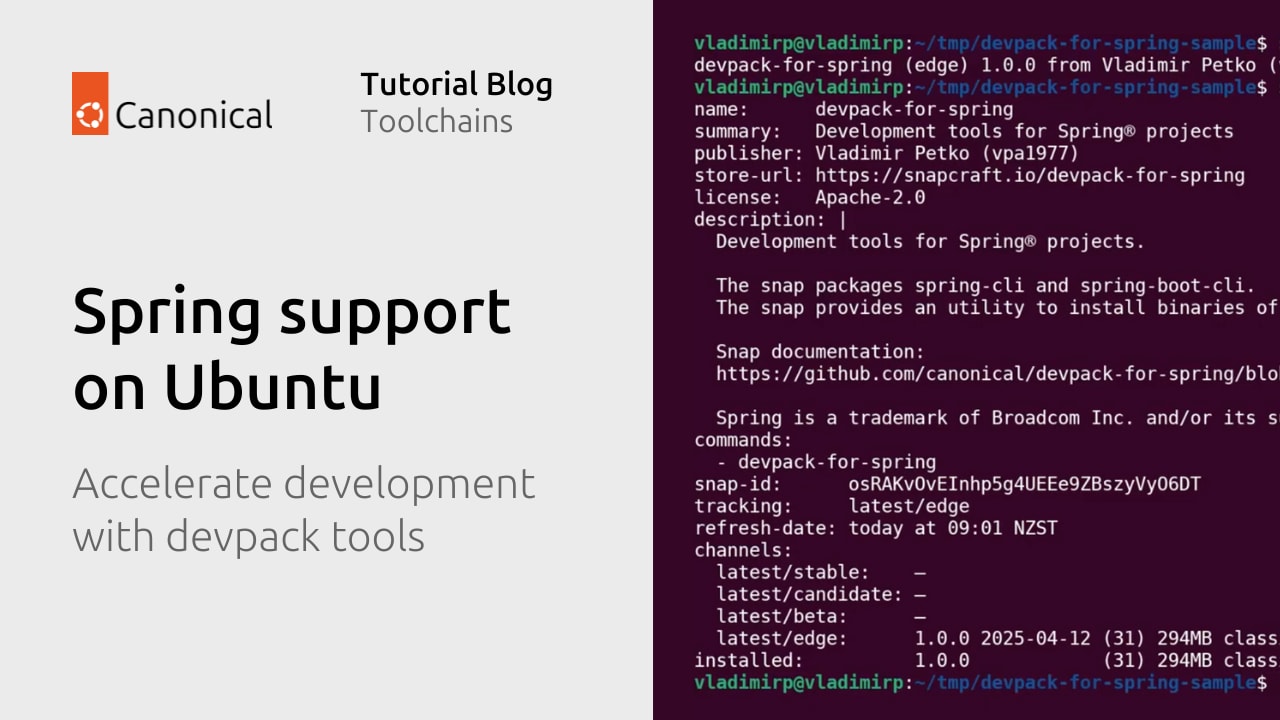
If not, thanks to the OpenJDK packages in the Ubuntu archive and the newly released Devpack for Spring snap you get a fully functional Spring Boot development environment simply by running the following 2 commands:
sudo snap install devpack-for-spring --classicsudo apt update && sudo apt install -y openjdk-21-jdkBuilding production grade containers in one command
Start by creating a project file. Rockcraft will automate its creation and tailor it for a Spring Boot application when we tell it to use the spring-boot-framework profile:
rockcraft init --profile spring-boot-frameworkThis command generates the following rockcraft.yaml file, where the only thing left to do is to point the name to the desired file and uncomment the host architecture.
name: spring
# see https://documentation.ubuntu.com/rockcraft/en/latest/explanation/bases/
# for more information about bases and using 'bare' bases for chiselled rocks
base: bare # as an alternative, a ubuntu base can be used
build-base: ubuntu@24.04 # build-base is required when the base is bare
version: '0.1' # just for humans. Semantic versioning is recommended
summary: A summary of your application # 79 char long summary
description: |
  This is spring's description. You have a paragraph or two to tell the
  most important story about it. Keep it under 100 words though,
  we live in tweetspace and your description wants to look good in the
  container registries out there.
# the platforms this rock should be built on and run on.
# you can check your architecture with `dpkg --print-architecture`
platforms:
  amd64:
  # arm64:
  # ppc64el:
  # s390x:

# to ensure the spring-boot-framework extension functions properly, your
# Spring Boot project should have either a mvnw or a gradlew file.
# see https://documentation.ubuntu.com/rockcraft/en/latest/reference/extensions/spring-boot-framework
# for more information.
# +-- spring
# |  |-- gradlew # either one of the two files should be present
# |  |-- mvnw    # either one of the two files should be present

extensions:
  - spring-boot-framework

# uncomment the sections you need and adjust according to your requirements.
# parts:

#  spring-boot-framework/gradle-init-script:
#    override-build: |
#      cp  ${CRAFT_STAGE}

#  spring-boot-framework/install-app:
#    # select a specific Java version to build the application. Otherwise the
#    # default-jdk will be used.
#    build-packages:
#    - default-jdk

#  spring-boot-framework/runtime:
#    # select a specific Java version to run the application. Otherwise the
#    # default-jdk will be used. Note that the JDK should be used so that Jlink
#    # tool can be used to create a custom runtime image.
#    build-packages:
#    - default-jdk
We are now ready to pack the rock, which can be done with:
rockcraft packOnce Rockcraft has finished packing the Spring Boot application, we’ll find a new file in the working directory (an OCI image) with the .rock extension. You are now able to deploy the newly created container image on the platform of your choice.


 KDE Mascot


 What You’ll Need
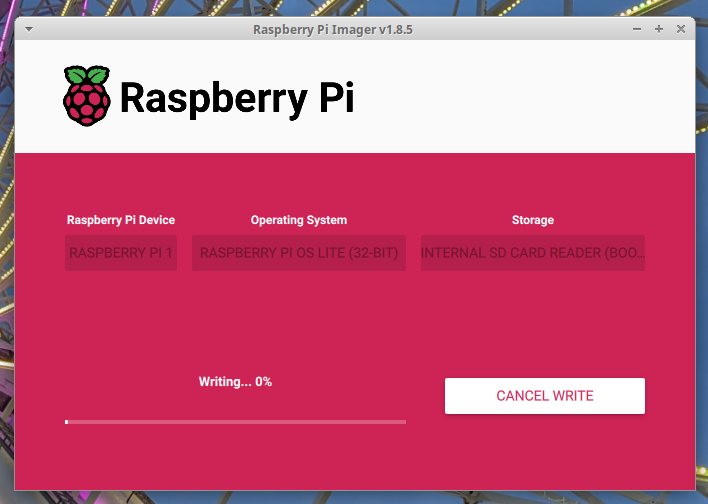
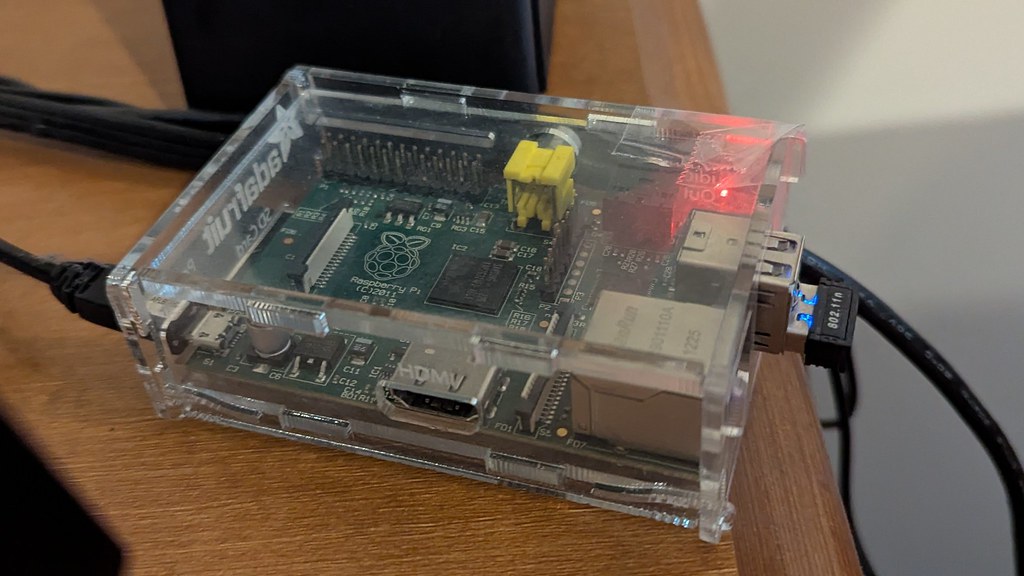
 Step 1: Prepare the Raspberry Pi
 Step 2: Install Plex Media Server
 Step 3: Enable and Start the Service
 Step 4: Access Plex Web Interface
 Step 5: Add Your Media Library
 Optional Tips
 Secure Your Server
 Conclusion
 What is 0 A.D.?
 Historically accurate civilizations
 Dynamic and random map generation
 Tactical land and naval combat
 City-building with tech progression
 AI opponents and multiplayer support
 Modding tools and community-created content
 Why It’s Perfect for Linux Users
 Native Linux Support
 Vulkan Renderer and FSR Support
 Rolling Updates and Dev Engagement
 What Makes the Gameplay So Good?
 Multiplayer and Replays
 Multiplayer save and resume support
 Observer tools (with flares, commands, and overlays)
 Replay functionality to study your tactics or cast tournaments
 Community and Contribution
 How to Install on Linux
 Final Thoughts
 Visit
Visit 


 I haven’t had time to blog, but today is my birthday and taking some time to myself!


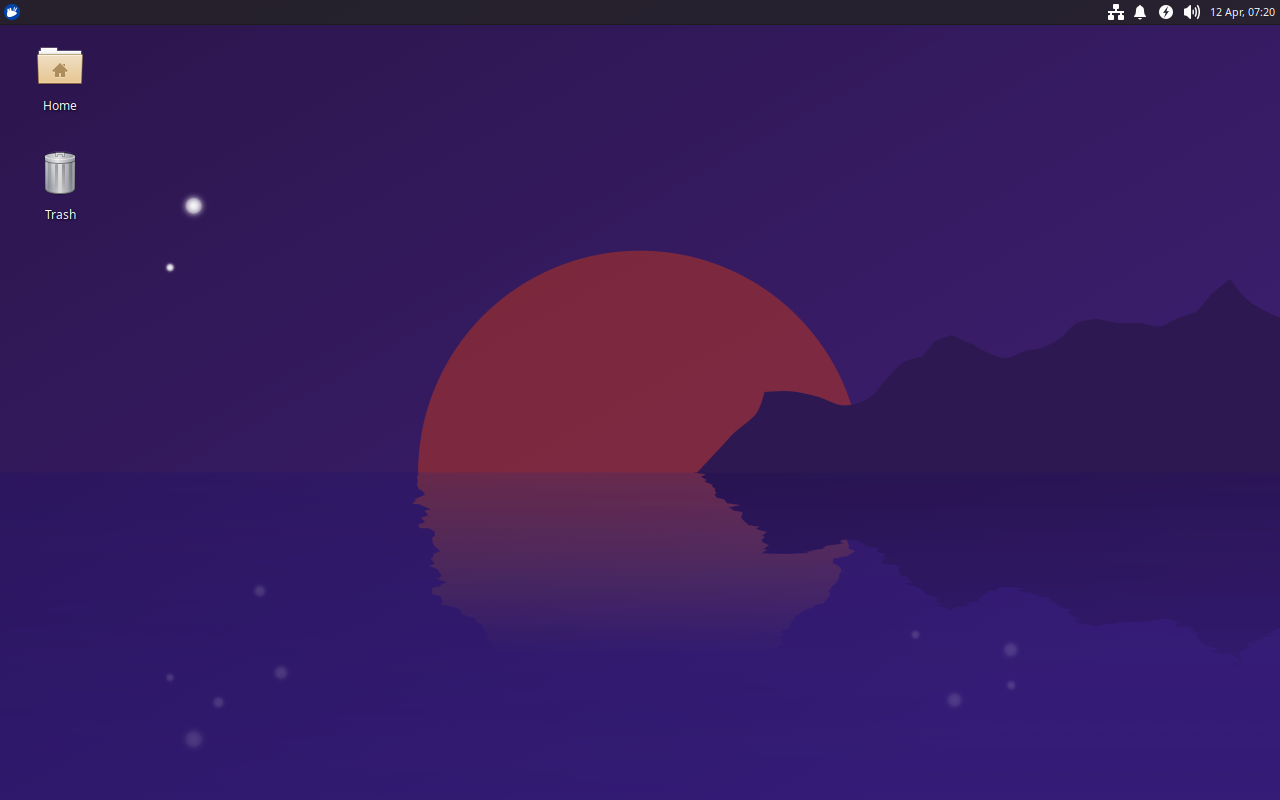 Xubuntu 25.04, featuring the latest updates from Xfce 4.20 and GNOME 48.


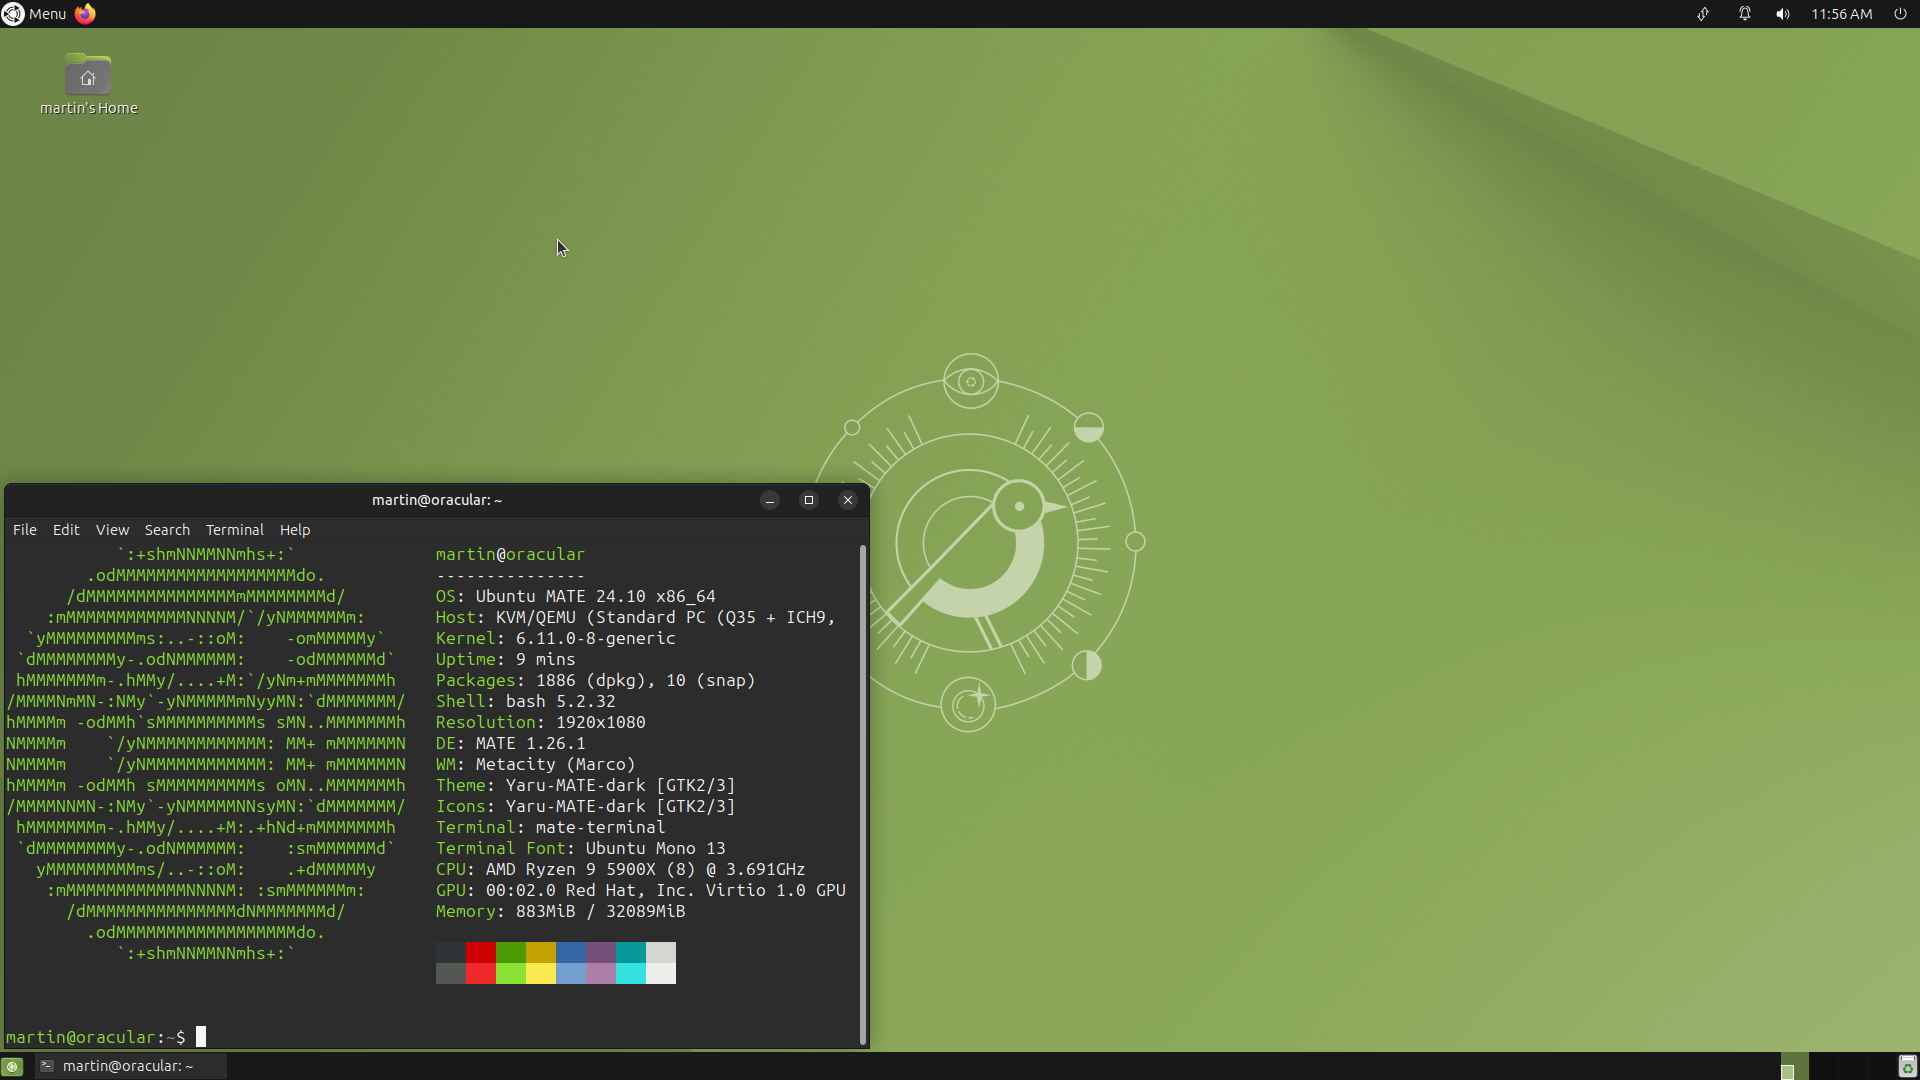 Ubuntu MATE 24.10
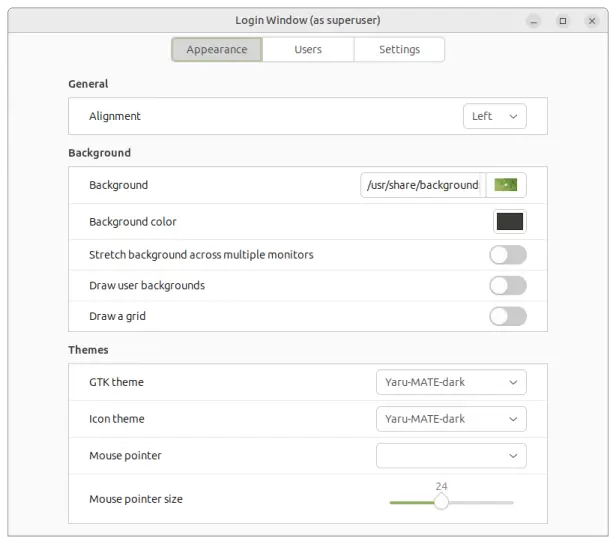 Login Window